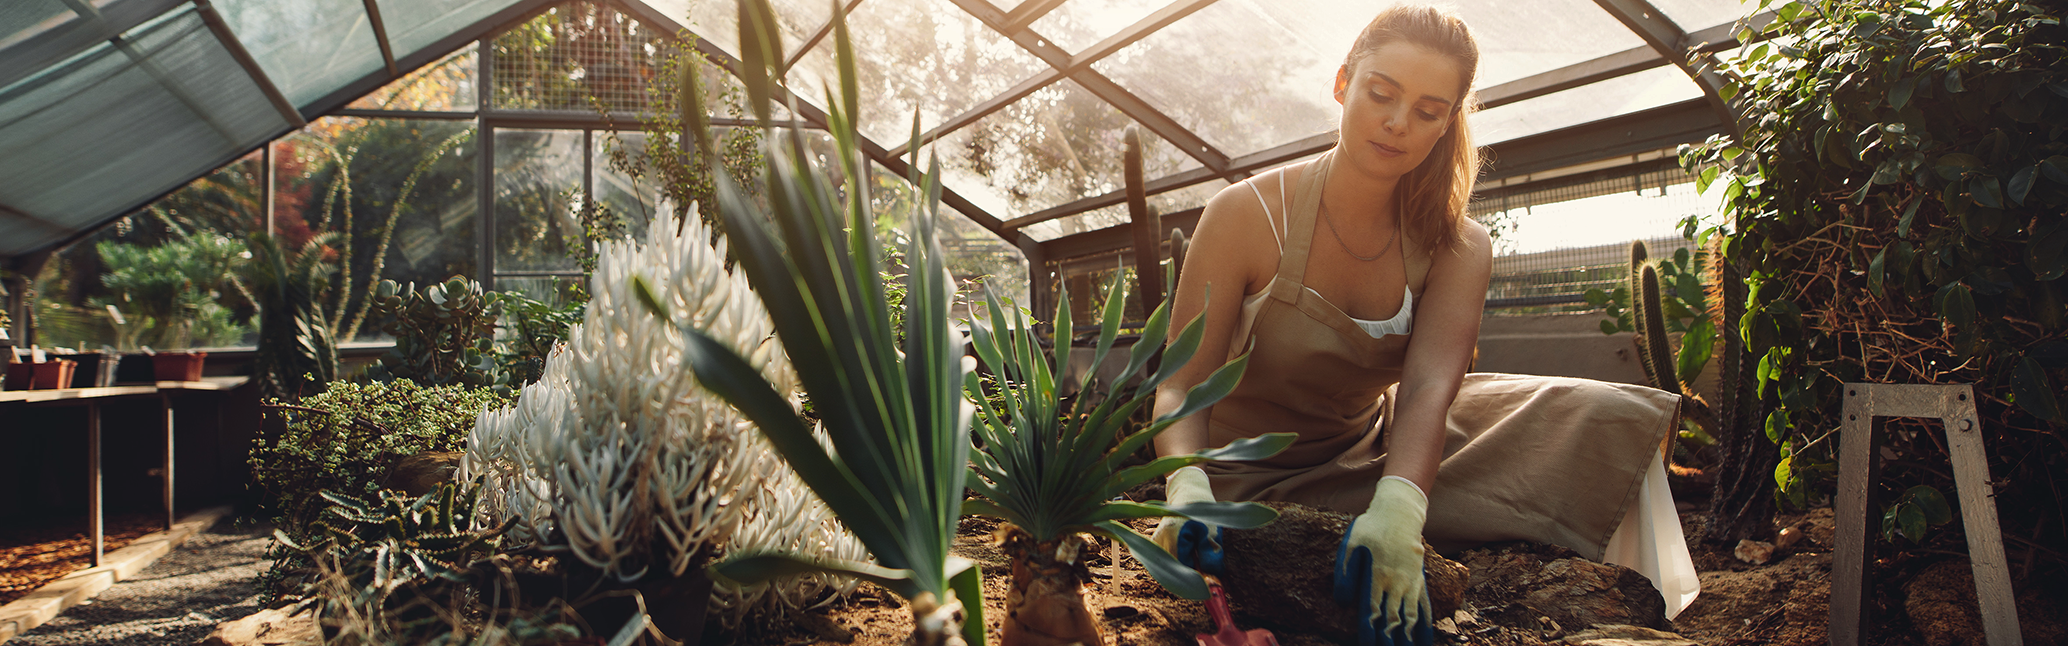
How To Care for Your Garden After Harvest

Proper garden care is always important, but it’s absolutely essential to give your grow space extra attention after harvest season has come to a close. This time of year is perfect for pulling spent plants, cleaning up around the yard, and preparing the soil for next season!
Once you’re done harvesting, here are our 6 tips for post-harvest garden care:
1. Remove Plants
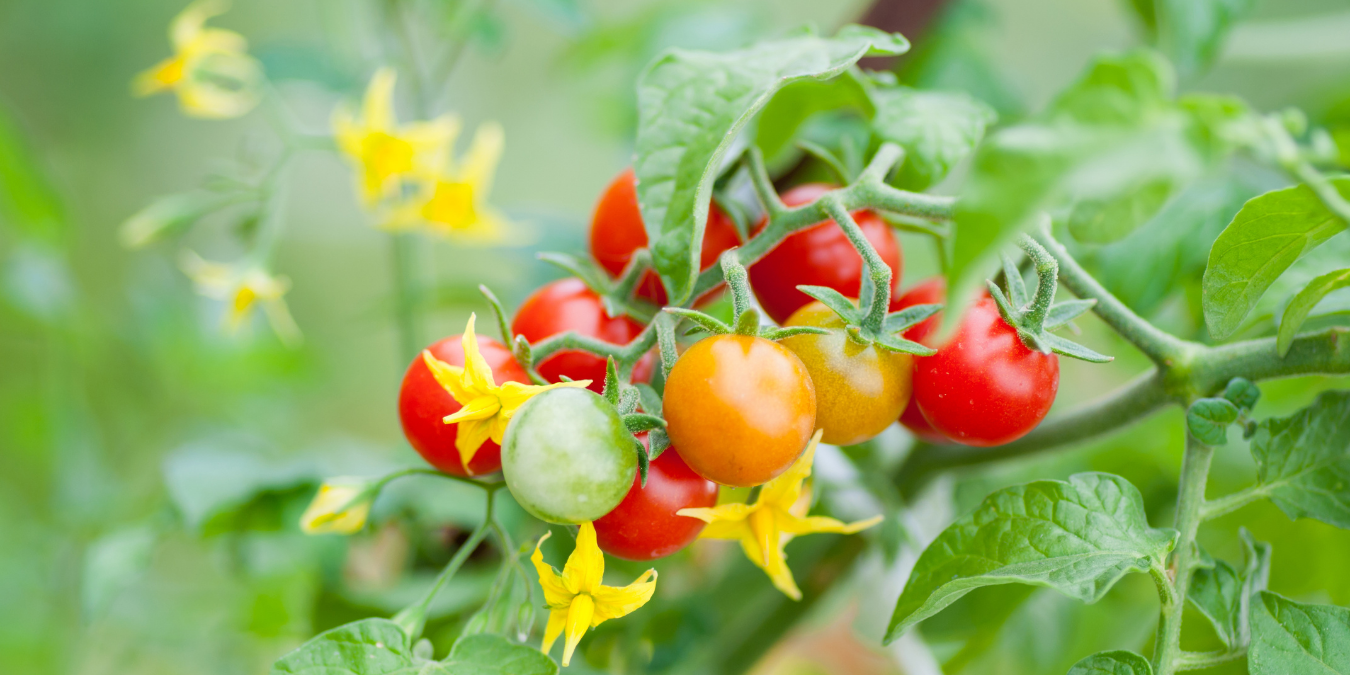
It’s time to get rid of the corpses and husks of your old grow. One of the most vital post-harvest tasks is removing the old plants from the plot. Summer annuals like zucchini and tomatoes just can’t stand the cold and won’t last through the winter, so it’s best to take them out of the ground as soon as they stop producing. Compost what you can, but remember to toss weeds that have bolted to seed and any plants infected with disease straight into the garden waste bin to keep your compost clean for future use.
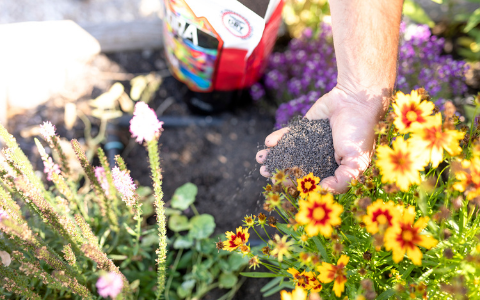
2. Replenish Soil
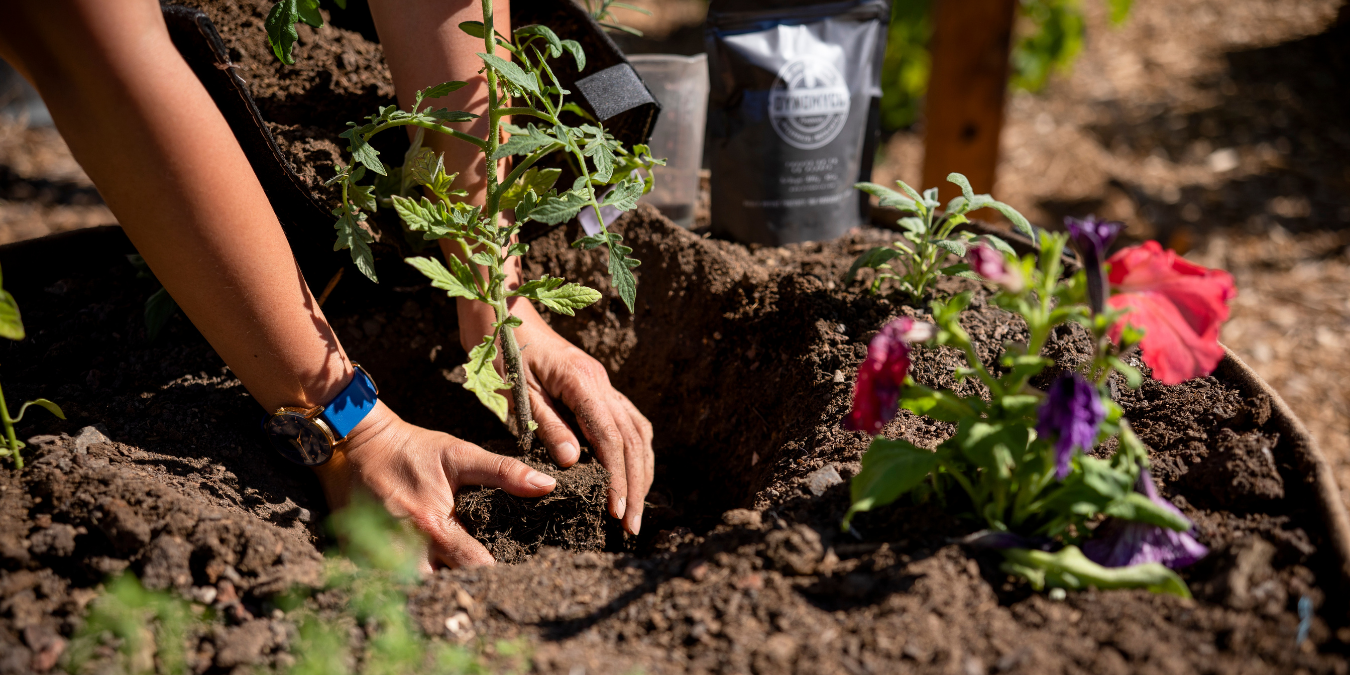
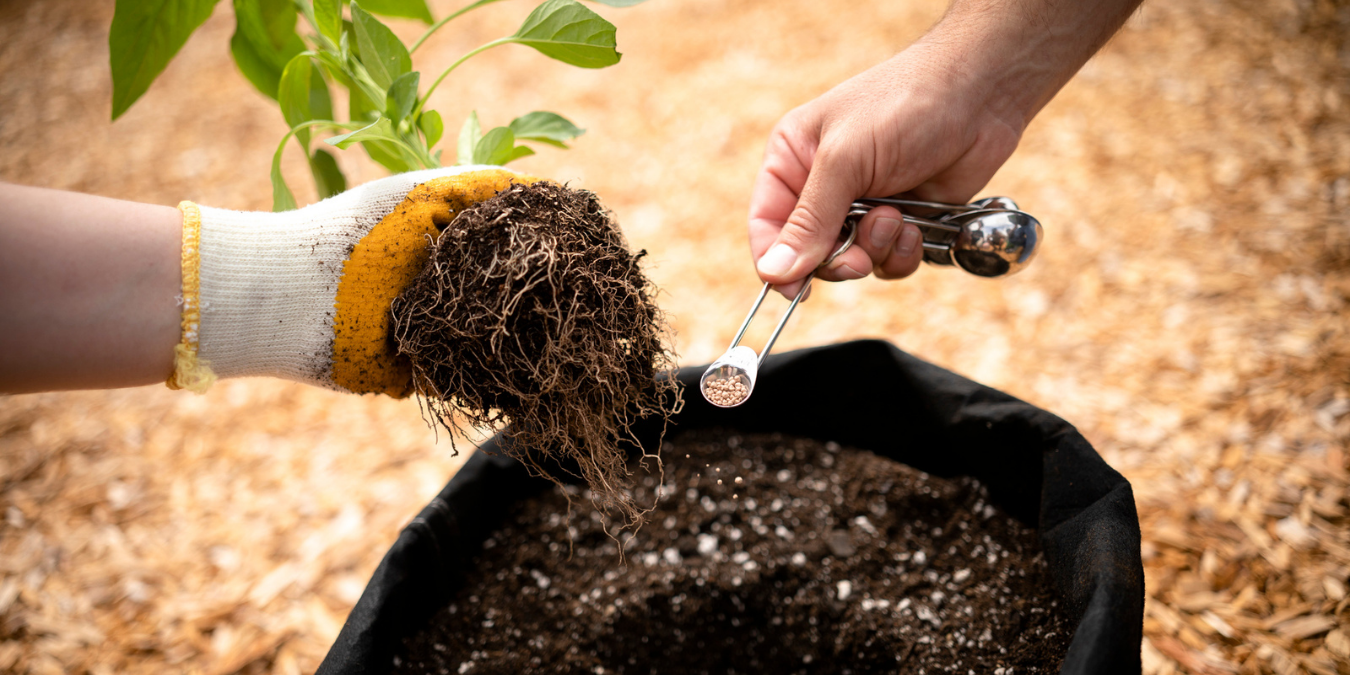
By the end of the growing season, your soil is old and tired. Now is the perfect time to give your soil a refresh for your next grow, especially if you plan to have a fall or winter garden! Once your beds are clear of weeds and old plants, and you’ve thrown out any soil contaminated with disease or pests, amend your soil with homemade compost or a slow-release fertilizer like GeoFlora VEG or Geoflora BLOOM to get it pumped up for the next growing season.
Geoflora Nutrients are organic granular fertilizers that can be tilled into your soil to refresh it with the vital nutrients and microbes your future plants will need to thrive. Allowing your fertilizer to work into the soil over winter is a foolproof way to ensure that your plants have the nutrients they need immediately available in the following season.
3. Mulch
Ever feel like you’re cold and want to cuddle up in a blanket? Your garden does, too. Mulch ensures that your soil stays warmer over the winter months, allows nutrients to break down over time, and keeps weeds from taking root in your garden before the season starts.
Did you know that the fall leaves from your trees make a great mulch and component for compost? If you can’t get to the store for bark mulch, collect the leaves and lawn clippings from your mower and use them instead. This trick will give you the benefits of a mulch combined with an added boost of nutrients as the cuttings decompose!
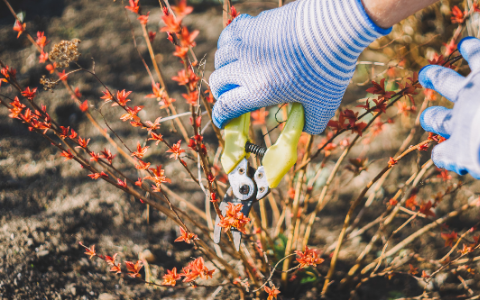
4. Care for Perennials
Perennial plants stick around from season to season and need proper care to survive the winter and produce the following spring. Take care of your perennial vines and brambles by cutting them back to the few strongest canes–you’re not murdering your plants, I promise! This keeps them from growing out of control and encourages healthy root growth over the winter months. Perennial vegetables such as artichoke and asparagus should be trimmed to around 6” from the ground to promote new growth in the next season. Keep your perennial flowers happy through winter by deadheading wilted buds and cutting back weak stalks.
And here we’re going to point back to tips #2 and #3: Fertilize your perennials by top-dressing the soil with compost or a slow-release granular fertilizer like Geoflora to replenish the nutrients they’ve been using all season. Then, make sure to insulate the roots with mulch to ensure that your perennials survive the colder temperatures of winter!
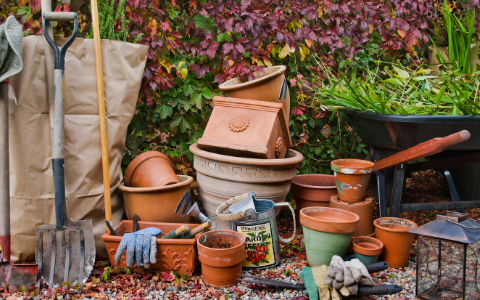
5. Clean and Store
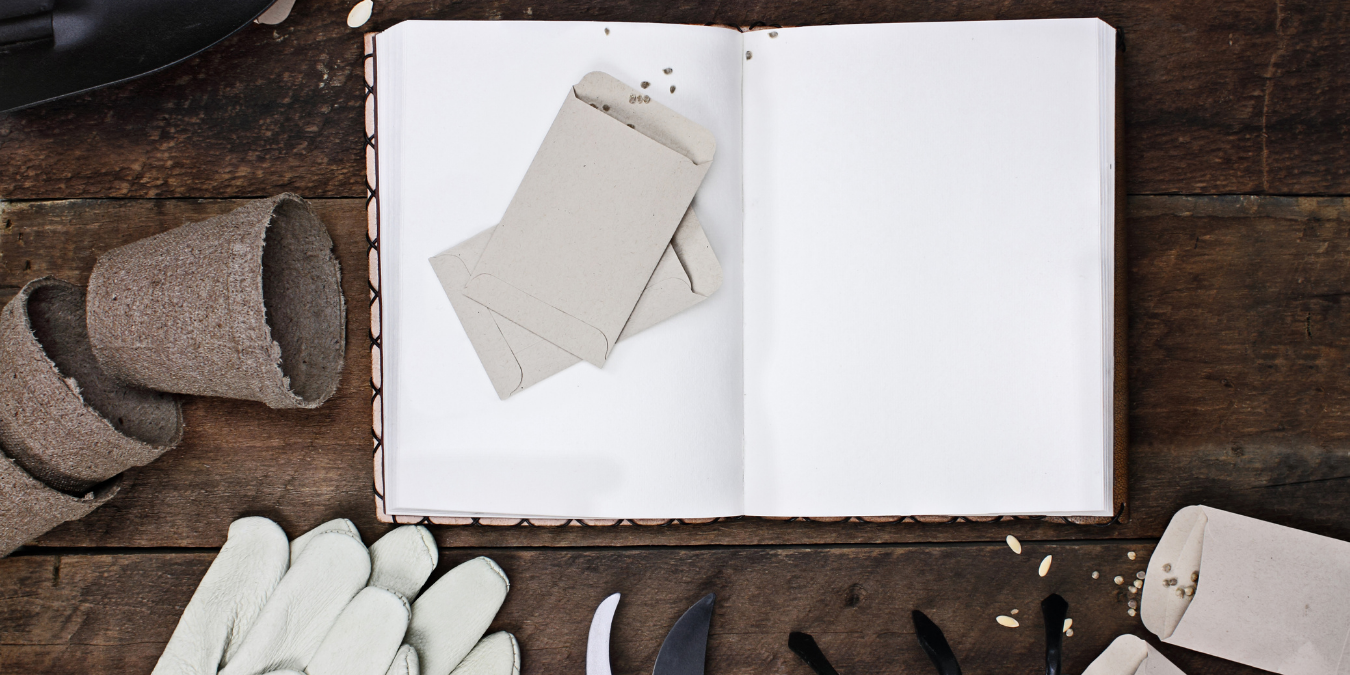
No one likes to clean their room, and packing away your garden supplies for winter is a similar chore, but it’s important to keep your necessities functional for the next season. Extra soil and fertilizer should be sealed and stored in a cool, dry place to overwinter, away from pests and damp areas of the yard. Seeds and bulbs you’re not ready to plant should be placed inside and out of the weather.
Keep your tools functioning for years to come by following these tips:
- Clean your tools of all soil and plant residue with warm soapy water or alcohol to disinfect and prevent any diseases from overwintering on your gear.
- Clean your leather gloves with oil or leather cleaner, and throw your fabric gloves in the washing machine.
- Empty your watering cans to ensure water-loving bugs like mosquitos don’t make a home out of them. Yuck, we don’t want those freeloaders.
- Tuck away all of your tools out of the weather to keep them from rusting or rotting.
Finally, make sure your newly emptied pots are washed with soapy water and stored upside down and out of the way to keep them from collecting dead leaves and detritus. If you have GeoPot Fabric Pots, take a look at GeoPot’s blog post on how to clean and disinfect fabric pots.
6. Plan for Spring
The best part of harvest coming to a close is planning next season’s crops! This is an excellent time to start daydreaming–reflect on your last growing season and make a note of what plants did well and what failed to produce so that you can go into your next grow prepared to get the most out of your garden.
Make a list of the seeds you still have, plants you’d like to try next, areas of the garden that had too much sun or shade, and also consider what pests showed up. This data will help you determine where to plant, how to fertilize, and what pest control products you need to make your harvest go even better next year. This may even be the right time to start some seeds to get ready for transplant in early spring! If your winter season is typically short, starting your seeds indoors now can give you a leg up on the growing season with vigorous and well-established starts to plant outside when the weather warms.
Wrap it Up
We hope this list of tips will get you through the end of your harvest and help you prepare for spring. Check out our blog for harvest how-tos!