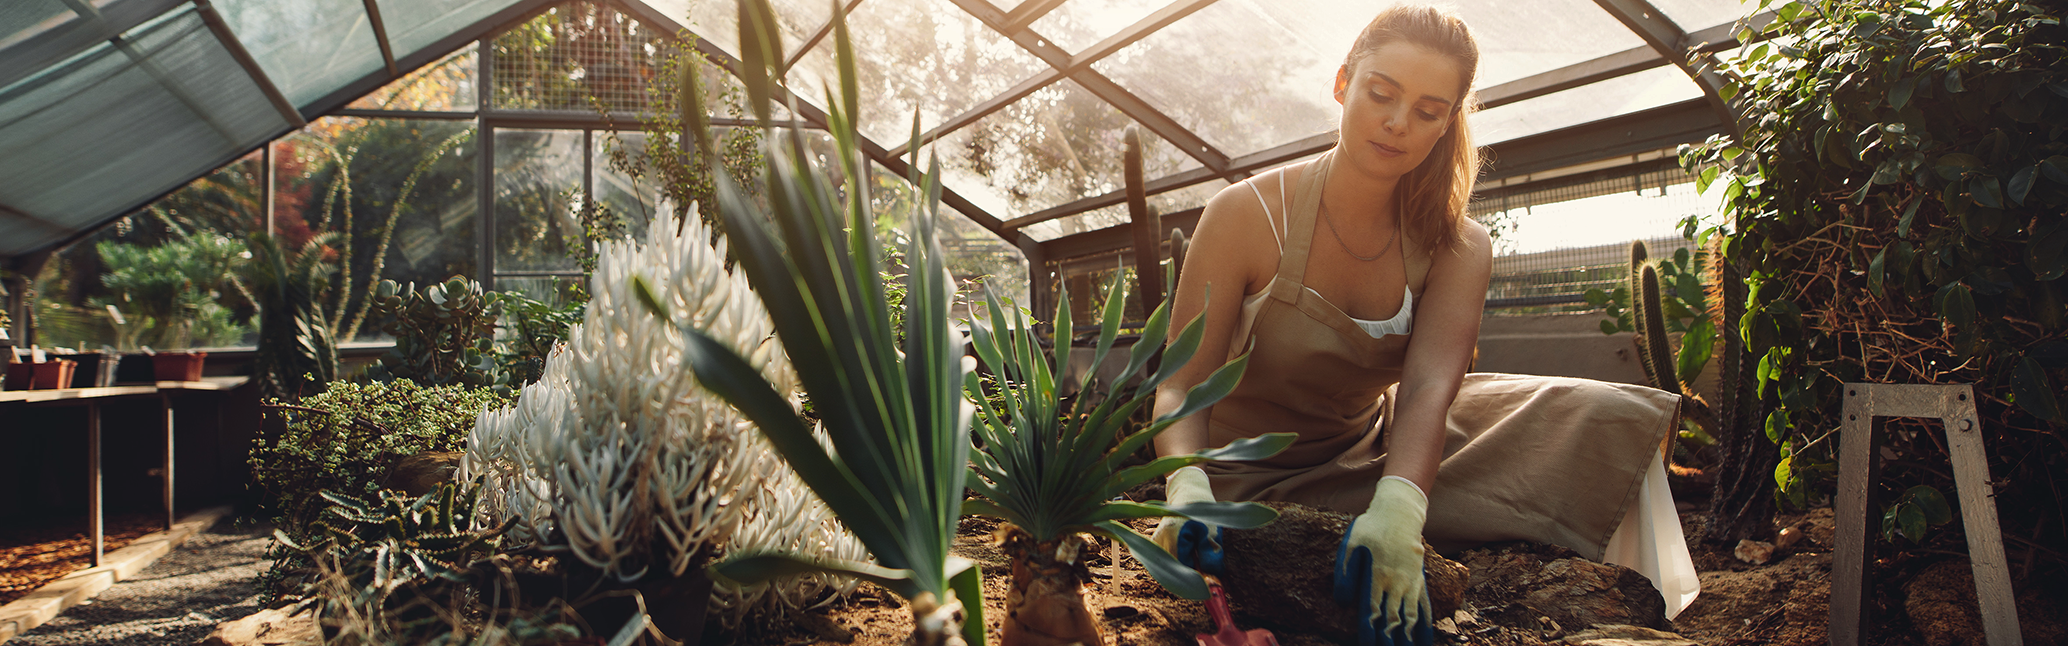
A Complete Guide to Composting at Home
Composting is a fascinating, do-it-yourself method for creating eco-friendly nutrients by recycling food and yard waste that would otherwise end up in a landfill. While most gardeners are aware of the benefits of composting, it can be intimidating to consider setting up a compost system of your own. Thankfully, it’s not a difficult task. We’re here to tell you how you can start reaping the benefits of homemade nutrients and reduced ecological impact in just a couple of months!
The Do’s and Don’ts of Composting at Home
So, you’ve decided you’re ready to start composting at home! What do you even compost? And how do you get started? Let’s dig in:
Basic Compost Needs
Composting relies heavily on the proper ratio of carbon-rich matter to nitrogen-rich additives, plus optimal levels of oxygen and moisture. That’s a whole lotta words to say: you’ll need the right mix of ingredients to compost well!
Greens
The nitrogen requirement of composting comes from what we gardeners call “greens.” Components like green grass clippings, fresh-cut leaves, coffee grounds, food scraps, and kitchen waste all contribute to this protein-rich portion of your compost pile. Greens are essential for making enzymes and supporting the growth and reproduction of composting microbes.
Browns
Compost bins also require a lot of carbon-rich materials called “browns.” These are made up of dry branches, fallen leaves, wood chips, straw, newspaper, and sawdust. Brown compost components are essential for adding carbohydrates and energy for the microbes to feed on. As a general rule, for every one part of green materials, your compost bin should have at least two parts of brown!
Oxygen
Everyone needs a breath of fresh air, even your compost pile. Microbes require ample oxygen to decompose organic matter into usable compost. One of the best ways to ensure your pile or bin is getting enough oxygen is to turn it frequently, allowing the components to mix and have access to air.
Moisture
Some people hate the word “moist,” but your compost sure doesn’t. Composting can’t happen without the right level of water to ensure the microbes stay happy and healthy. If your pile is uncovered, sometimes the rain and dew in your local environment will do the job for you, but if you have a covered bin or find yourself in dry months, it can be a good idea to lightly water your compost; but don’t overdo it!
Time
The final ingredient your compost pile needs to provide you with excellent nutrients is time. Cold composting can take a year or more, while hot composting can take a few months. Be sure to check your piles frequently to ensure that ideal conditions are being met and give your compost the time it needs to turn out just right.
Composting Step By Step
- Pick Your Pail: The container you save food waste in before it goes in the pile has to fit into your kitchen, block odor, and keep out pests, so be sure to choose accordingly!
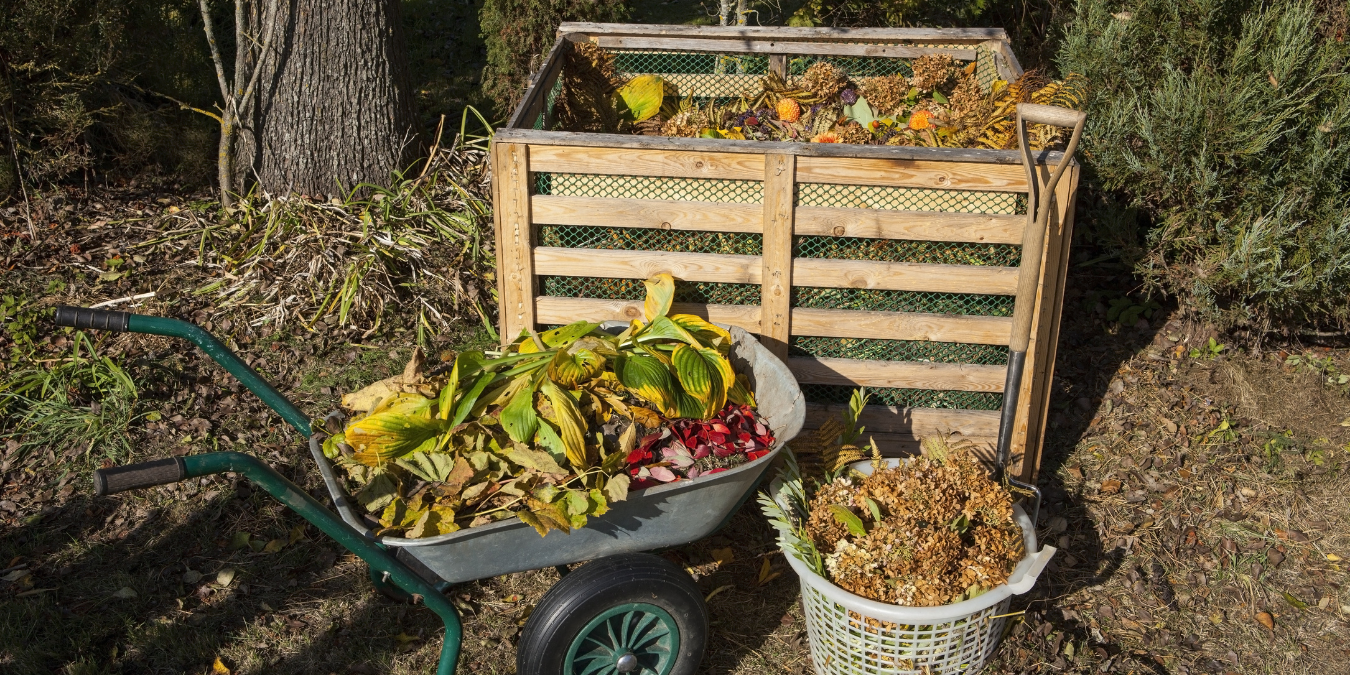
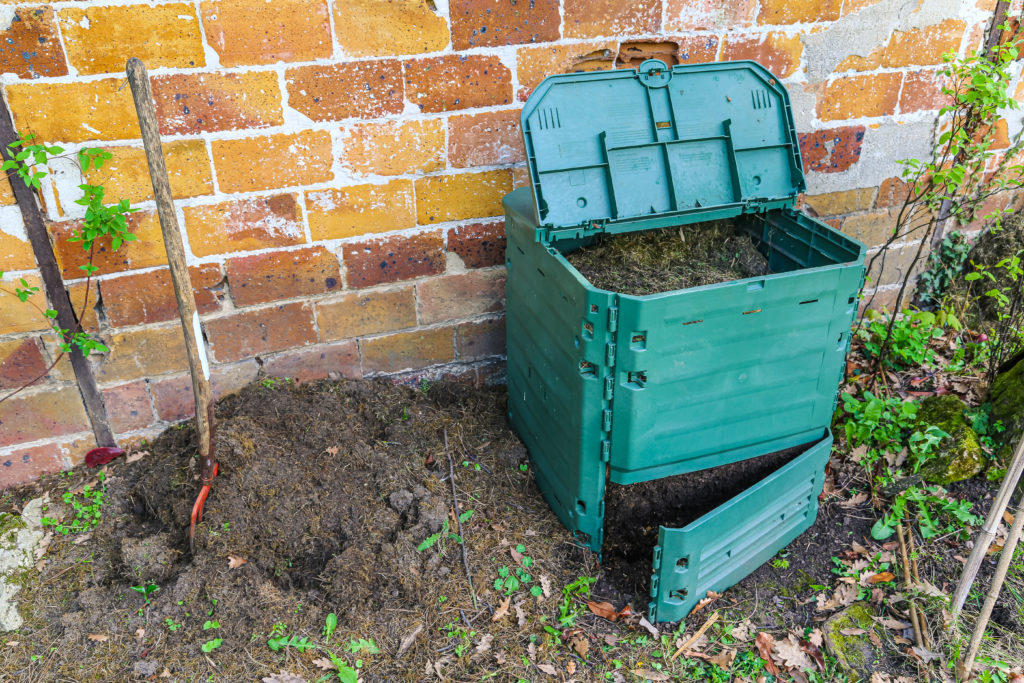
- Choose Your Bin: The method of composting you choose will play a large part in deciding which bin (or pile) to go with for your compost, so be sure to take into consideration not only how much compost you want to produce, but how you plan to process it. A pro tip is to set up two piles or bins, so when one is almost ready you can still add material to the other! A good bin candidate is a large GeoPot–with great aeration and even handled options, you can get your composting game going strong!
- Set Up Storage: Storage for your tools and even extra brown matter is a great thing to have handy. Just be sure to keep them within close range of your bin.
- Build Your Pile: Layer browns and greens in a ratio of at least 2:1 to keep your compost developing properly.
- Mix Your Muck: Once a week or so, turn or mix your compost pile to ensure that all parts have access to air and moisture.
- Water Your Pile: Add water as needed. Use the hand squeeze test: When a chunk of compost is squeezed in your fist it should feel like a wrung-out sponge, damp but not dripping.
- The Waiting Game: Twiddle your thumbs or play around in your garden while you wait for those little microbes to do their work.
- Amend when Ready! Mix your nutrient-rich compost into your soil to set up your plants with a bountiful feast of yum!
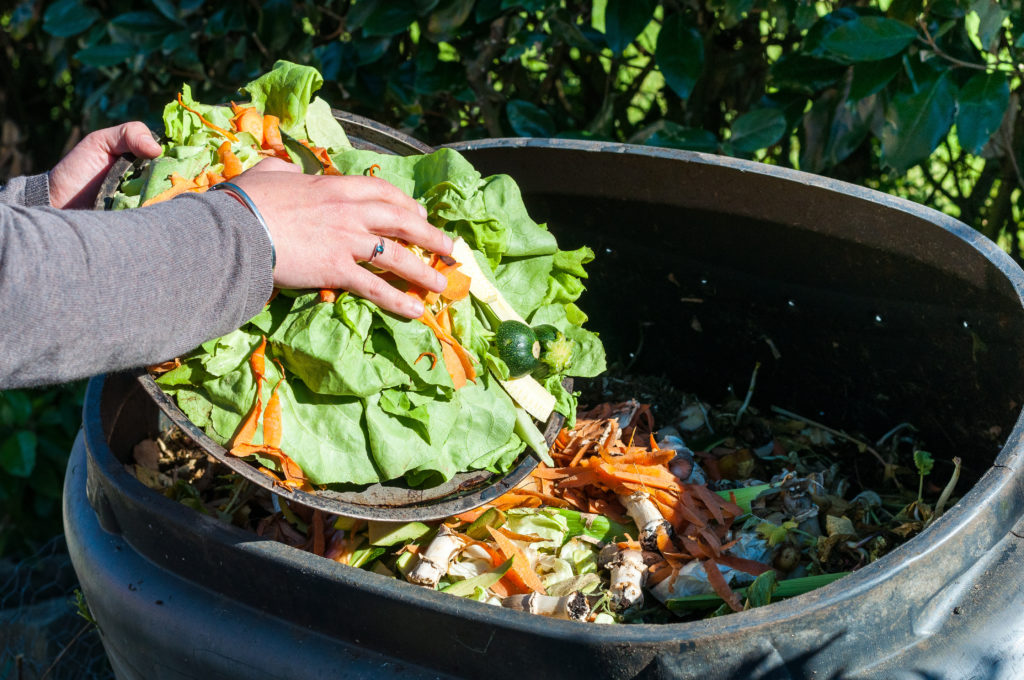
What to Compost
It can be hard to know what’s good to go in your bin. Here’s a handy list of great additions to your pile of nutrients!
Yard Clippings
One of the staples of every compost pile is yard waste, including things like grass clippings, leaves, tree needles, and even weeds as long as they haven’t gone to seed. Depending on how dried out the clippings are, many of these materials can apply to either your green or brown portion of your compost pile!
Wood? Wood!
Wood chips, wood ash, shredded wood, branches, and even sawdust make great brown additions to your compost pile, just make sure that they’re broken down enough to decompose quickly, or you’ll be waiting a long time for your compost to finish.
Your Breakfast
Coffee grounds and tea leaves are excellent additives for your compost bin, with lots of nutrients for your future plants, and they smell good too! Similarly, your morning eggs can pack a punch in your compost with their eggshells to give a boost of calcium to your grow. Fruit and vegetable clippings, even your burnt toast, can be added to your pile too!
Office Supplies
It may sound strange, but even some office supplies can end up in your compost bin. Paper products like shredded paper (with no gloss or color), pieces of cardboard, and even newspaper make excellent brown materials to add to your compost.
Barnyard Junk
You may or may not have a barn, but if you’ve got access to straw, chicken poop, or even horse manure, you have a ready supply of future plant food for your compost bin. While we advise you to avoid most poopy products, chicken and horse manure are high in vital nutrients and low in odor, so you can add them to your pile with confidence that critters won’t care too much about them.
What to Never Put in Your Compost Bin
There’s some stuff you just don’t want near your plants. We’re here to tell you what to keep out of your compost!
Dead Bodies
Things like meat scraps, bones, and fish parts will stink up your compost bin and attract pests if your bin is outside. Only use materials like this if you have a compost bin and style suited to breaking down this kind of material. And please don’t try to break down a whole body in your super-duper electric countertop composter, okay?
No-No Plants
Plants that have gone to seed, perennial weeds, and plants that show signs of disease are poor contenders for your compost bin unless you want your garden beds overrun with weeds and powdery mildew next season!
Other Oddities
Things like pet waste, non-organic fruit peels and rinds, and treated wood or paper are all awful additions to your compost pile. Non-organic fruit peels may bring unwanted pesticides (and sometimes grocery store stickers) into your grow, while treated paper and wood won’t decompose properly. And, of course, pet waste will stink! Ew. You don’t want that by your yummy veggies, do you?
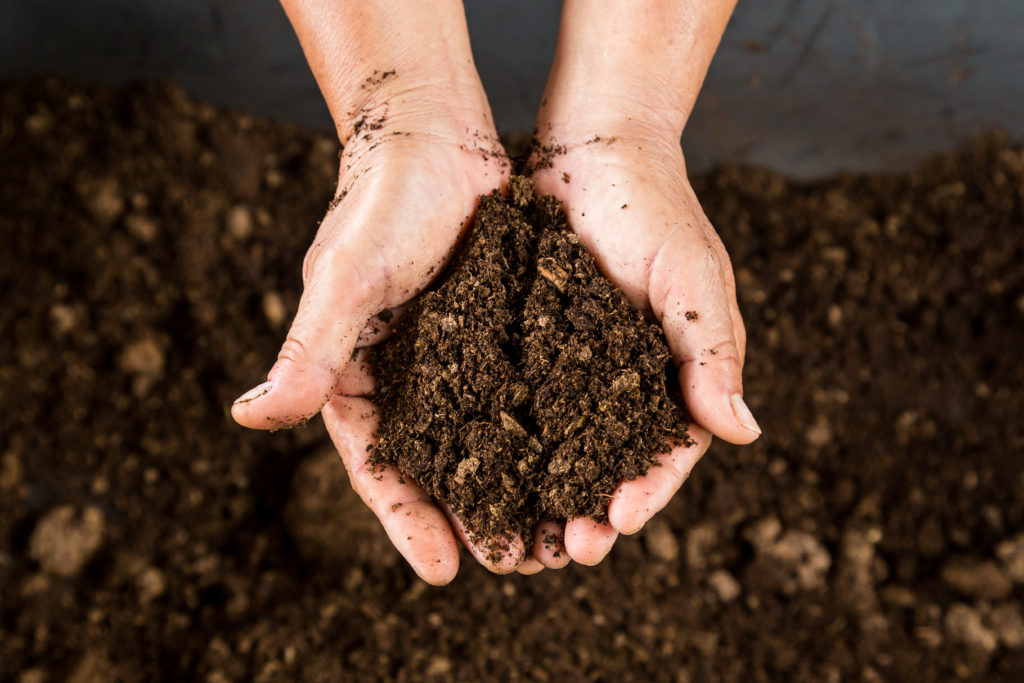
How to Tell Your Compost is Ready
You’ll know your compost is ready when it’s dark, crumbly, and smells earthy. There should be no remaining scraps of food or raw material left in the pile.
You can test your compost to be sure by placing a handful in a ziplock bag and sealing it without air. After a few days, open it and smell the compost. If it smells like ammonia–aka, GROSS–it needs more time!
How to Use Compost
There are many ways you can utilize compost in your garden:
- Add to the soil in your garden beds. Add a layer 2-4 inches thick to the soil surface as a top dress or mix into the top 6-8 inches of soil.
- Mulch with your compost. You can use unfinished compost in layers 2-3 inches thick as a mulch to help insulate plant roots. Just be sure to leave a few inches between the compost and your plants’ stems.
- Create a potting mix. Add compost, sand, garden lime, and coco coir or soil together to create a powerful custom potting mix. Use a recipe to pick your ratios, or just experiment until you find out what works best for you!
- Make a compost tea. Soak your compost in a bucket of water, then pour over your plants for an energy drink that your crops will love! The tea is for your plants; please don’t drink it yourself.
Successful Composting is Worth the Wait
Yeah, it takes a while. But if you want to recycle and reuse some of your food and yard waste, supply your garden with Grade-A nutrients at no cost, and just basically rock the whole eco-friendly gig, composting is the way to go. It takes some patience, but we think you’ll find that it’s a fascinating process that your plants will thank you for!
Check out our blog for more garden tips!