Start it Up: Plant Propagation for Beginners
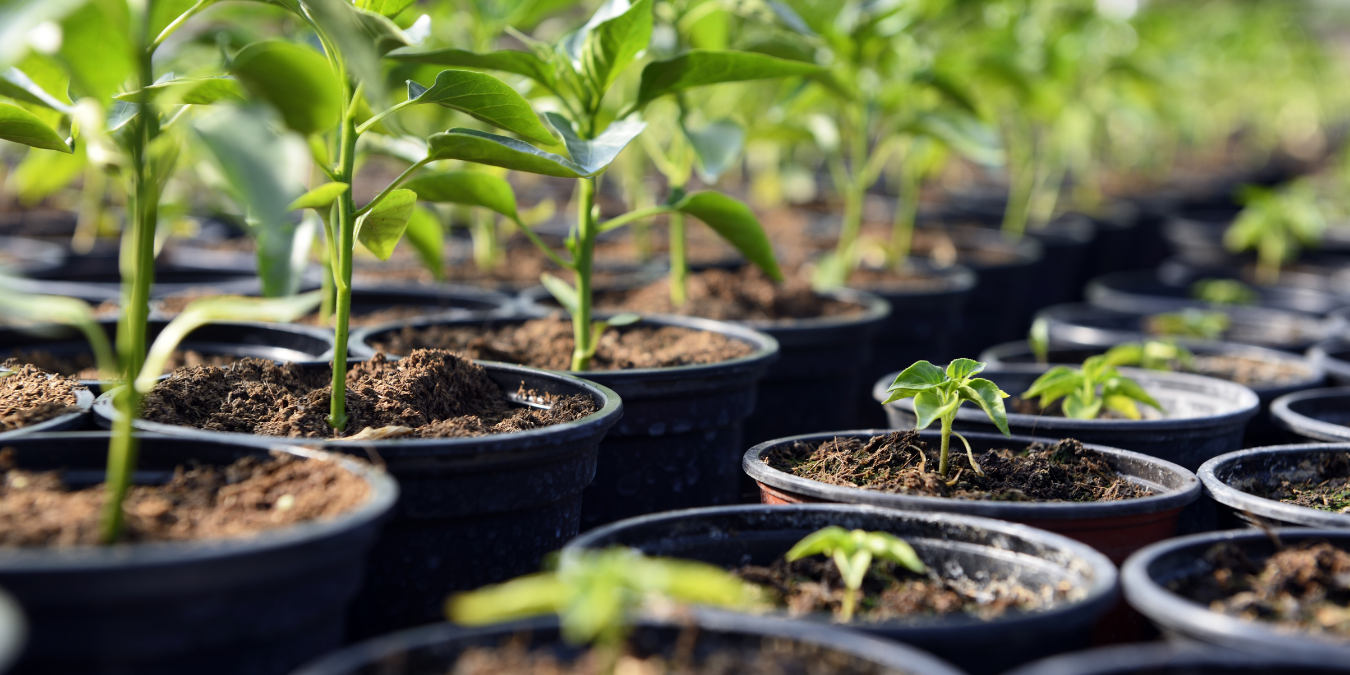
Spring is around the corner, which means gardeners everywhere are gearing up for the growing season. There are many ways to get the plants you need for your garden space, but if you’re looking to save money and start early, consider propagating your own rather than buying them at the store!
What is propagation, and why is it so great? Read on for some handy how-tos!
Plant Propagation Basics
Plant propagation is the technical term for getting a plant started, but did you know that there’s more than one method for starting plants? New sprouts are born in two ways: planting a seed or rooting a cutting from its mother plant (also known as cloning).
Seeds
Plants reproduce by sharing pollen and spreading seeds. When seeds have the right conditions–usually soil, warmth, and some fresh water–they will sprout into a brand new, genetically distinct plant.
Pros
- Growing from seed keeps hitchhiker pests and diseases from transferring over from the mother plant, a common risk with clones.
- Seeds generate a larger taproot, while clones do not. This allows for a more robust plant in the long run.
- Storing, transporting, and producing your own seeds can be more cost-effective.
Cons
- Unhealthy seeds, fluctuating temperatures, or variable moisture can lead to inconsistent germination.
- Seeds result in genetic variation that you don’t get when working with clones, so it can be hard to grow a uniform crop.
- Seeds take longer to mature than clones. For growers who want a quick turnaround, seeds aren’t the best bet.
Cuttings
Plants have a nifty second way of making new sprouts, and that’s by cloning! While this process doesn’t involve test tubes and lab coats, you might feel like a scientist anyway! Propagating cuttings involves taking a piece of a mature plant, sticking it in water, and waiting for it to sprout new roots. Soon you’ll have a new plant that’s genetically identical to your mother plant!
Pros
- Clones are technically mature plants and grow much faster than seedlings due to their head start.
- If you want your plants to grow uniformly without much genetic variance, cloning is the way to go!
- Cloning is virtually free if you have your own mother plant!
Cons
- Cloning can transfer disease and pests from the mother plant to the clones, leading to issues in your grow early on.
- Because clones don’t have a taproot, they develop a weaker root system overall.
- Clones are delicate and can fail to put out roots if not handled with care.
Getting Started
The two approaches to propagation have very different requirements, so be sure to follow these steps to get your plants growing!
Planting Seeds
Planting seeds may seem like a no-brainer, but we’ve got a step-by-step process to make sure you do it right: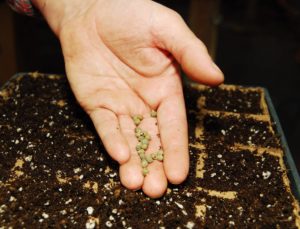
- Pick the right seed for you! There’s a lot to consider when choosing your seeds, including organic or conventional, heirloom or standard, specific cultivars and variants, as well as plant needs and growth time.
- Once you have your seeds, be sure to choose healthy ones to plant. Seeds that are discolored, soft, or moldy may not produce a plant at all.
- For seeds with a tough seed coat, you’ll need to prep them for seeding. There are a few methods!
- Place your seed in a paper towel-lined container and mist with room temperature water. Keep the paper towel damp but not soaked by misting every few hours. Store in a warm place until the seed germinates!
- Rough up the tough outer shell with sandpaper or a nail file.
- Soak your seeds in warm water overnight and place them into the soil as you would any other seed.
- For especially hard seeds like beans and legumes, some people even use an acid bath dip in white vinegar (a source of acetic acid) instead of a regular water soaking.
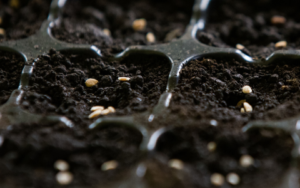
- Prepare your pot, in-ground soil, or propagation tray (we recommend IHORT trays!) by filling with your desired growing medium. Poke a hole to the required depth, bury the seeds in the soil, and water thoroughly.
- Maintain soil moisture and warmth, and keep an eagle-eye on your seeds! You’ll have little sprouts in no time!
Starting Cuttings
Cloning isn’t a complex, science-heavy process. Just follow these steps to create genetically identical plants!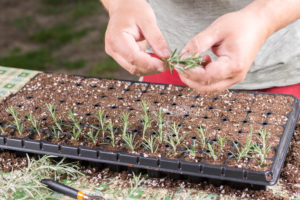
- Choose your mother plant. Look for healthy plants with traits you want to keep! Got a favorite tomato or a cucumber plant that produced really well last year? Save their genetics by prepping them for cloning!
- Prepare the rooting media. This can be rockwool, a tray and water setup, peat, or even foam. Ensure the clones will have enough support while rooting and have plenty of access to water and any rooting hormone you may be using.
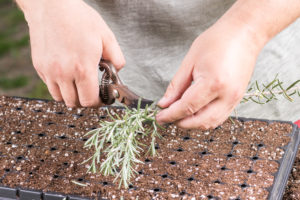
- Choose a branch to cut. Pick one that is sturdy, healthy, and free of disease and pests. You’ll also want to make sure that the tip of the branch has new growth!
- Use sterile scissors or a razor to cut above the node on the mother plant.
- Trim the cutting at a 45-degree angle just below the bottom node.
- Dip the cutting immediately into a rooting hormone and place it into the rooting media.
- Remove unnecessary leaves at the bottom of the cutting. We recommend trimming back all but the top two leaves.
- Keep moist over the next 10-14 days.
- Transplant when roots reach 1” in length, and voila! You have a new baby plant! (Consider adding a mycorrhizal inoculant like DYNOMYCO at transplant for super-efficient nutrient uptake!)
Grow Your Way
In the end, both methods of starting plants are effective–you just need to decide what’s right for your grow. With many benefits and drawbacks for each approach, it’s important to consider your grow space, your goals, and how you’ll care for the plant throughout its life cycle. We hope this article helps you decide which way to grow for a fun and successful crop!


